Do you remember the last time you had a leak? First, it took an eternity to find. And then, when you finally found it, it was because the water was dripping on your feet or there was a puddle beneath the sink. Ugh!
We’ve all been there. We know what that feels like: frustrated and fed up with trying to figure out where the drip is coming from and how long before we have to call in a plumber again for another emergency fix-it job.
The good news is that most leaks are pretty easy to fix if they’re caught early enough. But here’s how not to get caught by surprise (again).
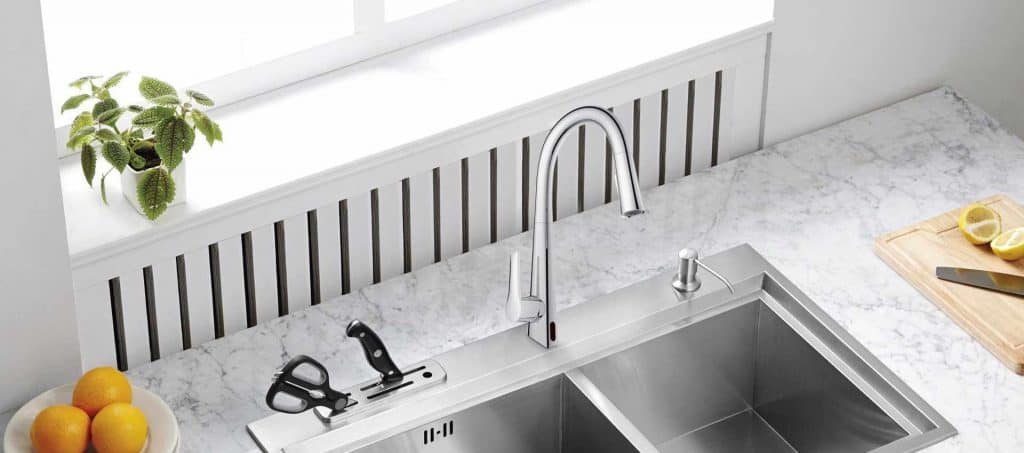
Shut off the water to the faucet
The first thing you want to do is turn off the water supply. That means checking the valves that control the hot and cold spigots, as well as any shutoff valve at your main water line.
In many cases, it’s an outside faucet on a hose bib attached to your house’s water service line that you need to turn off. This will help prevent the flooding that can sometimes occur if you don’t turn off the water at your main water supply and have a leak on the inside.
Unscrew and remove the handle
Next, you want to unscrew and remove the handle. The screwdriver you use should match the head of the one that holds it in place (there should be a type listed right on the faucet).
Be sure to hold onto the screw so that you don’t lose it inside the sink, and if there’s a little plate with a spring underneath the handle, remove that too.
If you can’t get the faucet to move or if it’s frozen, spray lubricant around and on the stem of the faucet (the piece between the handle and faucet body), turn it with a pair of pliers until it loosens up. If all else fails, you can try a pair of needle-nose pliers to ensure that you at least remove the handle.
Disconnect the faucet body from the sink
Next, disconnect the faucet body from your sink by unscrewing it with a wrench (again, make sure that your wrench has just enough clearance to fit the screws that thread into the faucet body).
The reason you should remove the faucet first is that it’s possible that your sink could be too damaged if you try to take out a stuck or rusted pipe without being able to see what is under there.
Check for leaks around the pipe collar and connections
Once you’ve got the handle and faucet body out, you can start looking for leaks. To do that, observe your pipe collar where it meets the sink or countertop: if this seems wet, then there’s a leak. If you can’t see an area around the pipe collar that’s obviously wet, then check for leaks around any connections to your sink. These are the spots that can cause a leak, and they’re usually where you’ll find it.
It’s possible to use vegetable oil or mineral oil (both of which will eventually evaporate) as a preventative measure for pipes, so if there is any place on your faucet that may cause leaks in the future, try using it now.
Apply Teflon tape to the pipe threads and then retighten.
Once you find where the leak is, make sure that as much of it as possible has been wiped away. Then apply Teflon tape around the threads on the faucet body and replace it into your sink.
If you’re using new faucet installation parts, make sure to apply Teflon tape to anything the new faucet body will screw into. This helps ensure that the connection is airtight and leak-free. Then tighten everything back up with your wrench.
If you have an old faucet body, check to make sure that all of its parts are in good condition before you try to replace it. If any parts don’t look right, buy new ones instead of using what you have.
Bottom line
Don’t let a leak scare you away from using your sink when it comes time to replace it. Going through the steps above will help you get everything back in order and limit the amount of damage that leaks can cause.
If you need additional help or have more questions, be sure to contact a professional for assistance.












4 thoughts on “Kitchen Faucet Leaking at the Base: Fix Your Leak in 5 Steps”
Comments are closed.