HOW TO TROUBLESHOOT TOUCHLESS FAUCETS
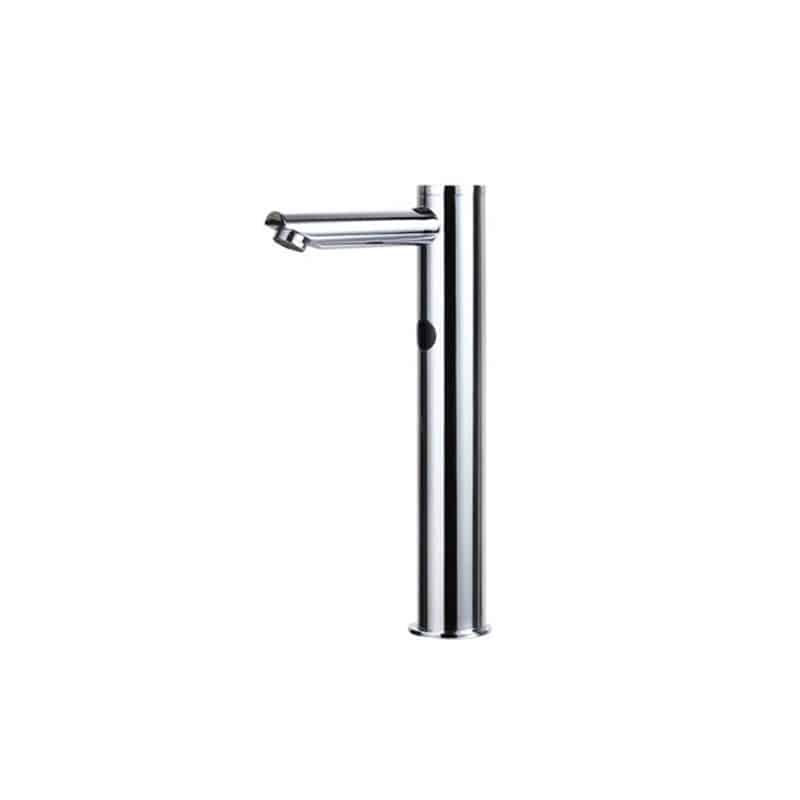
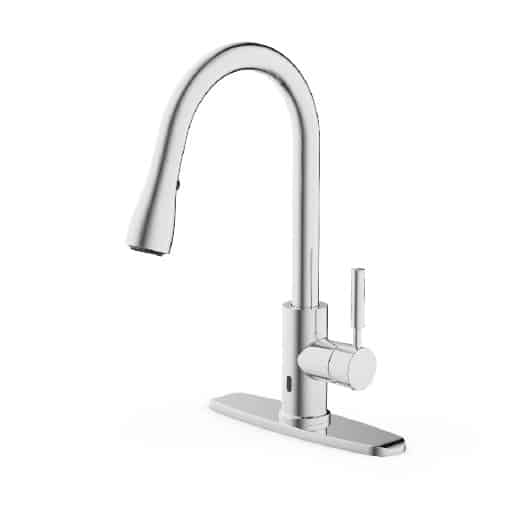
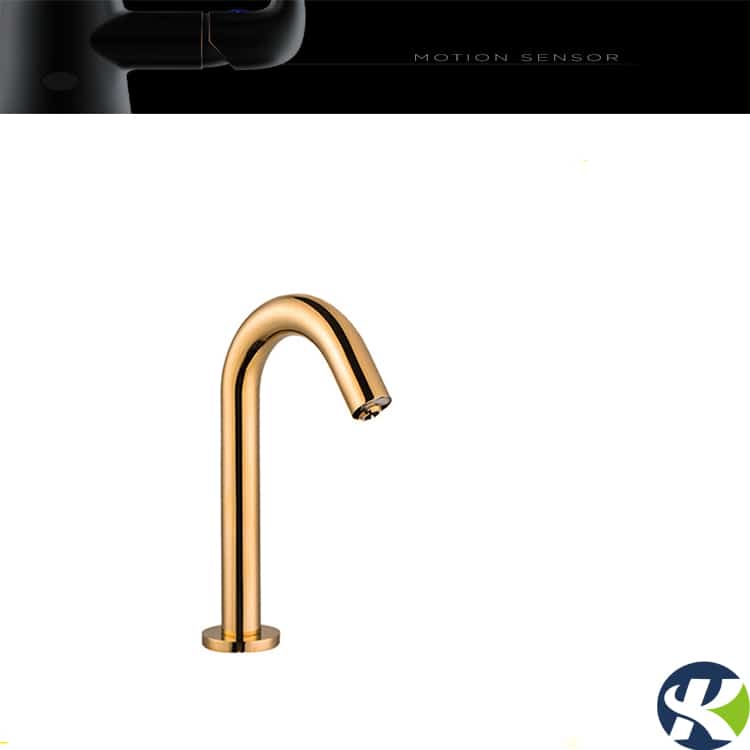
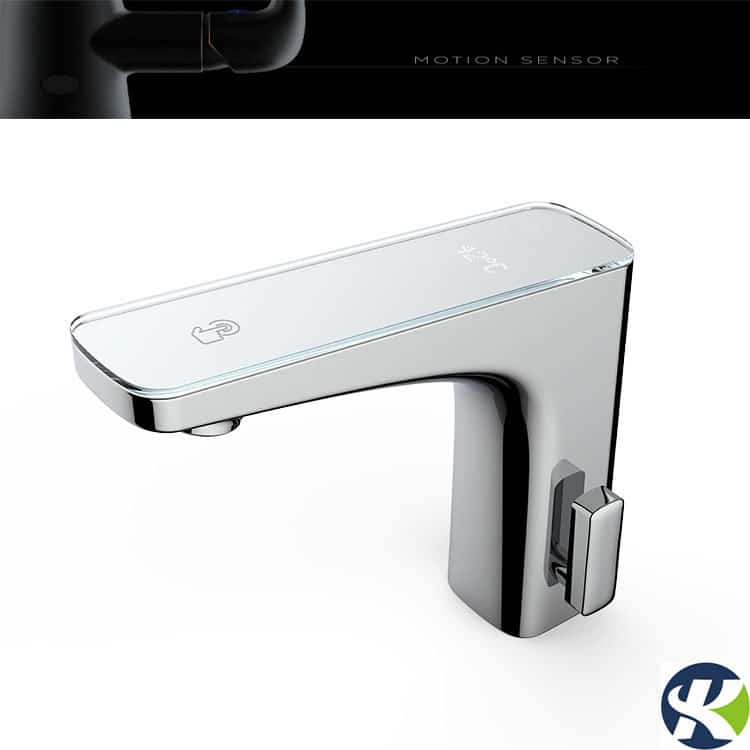
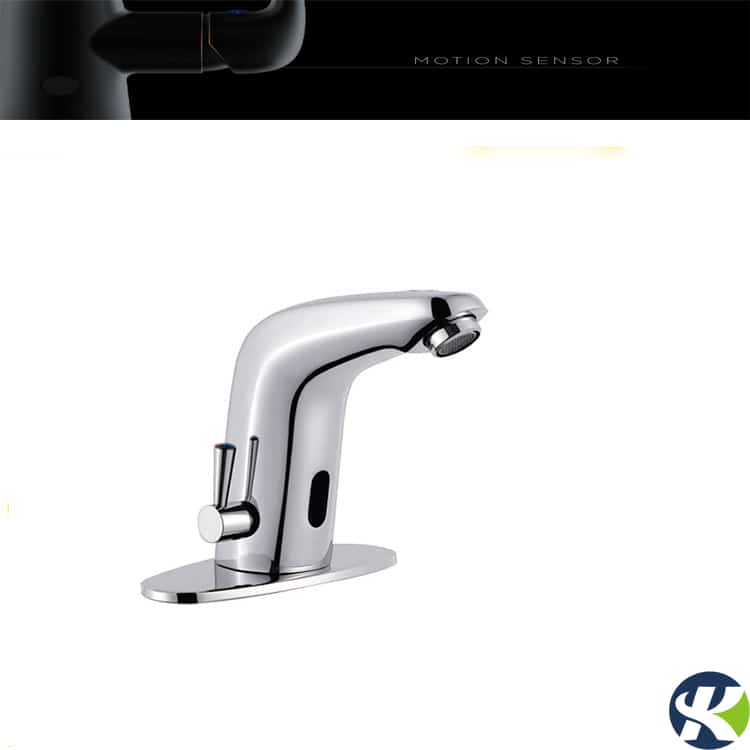
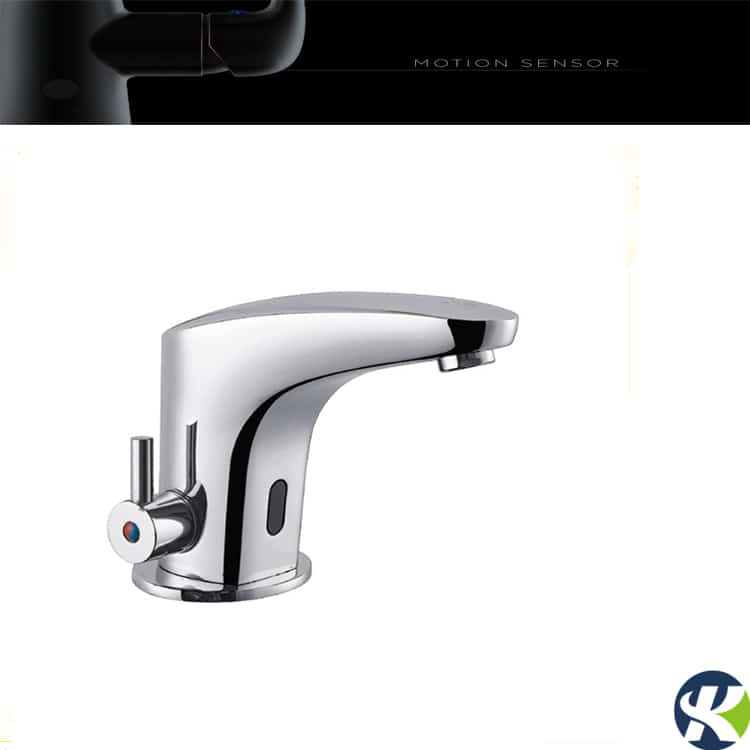
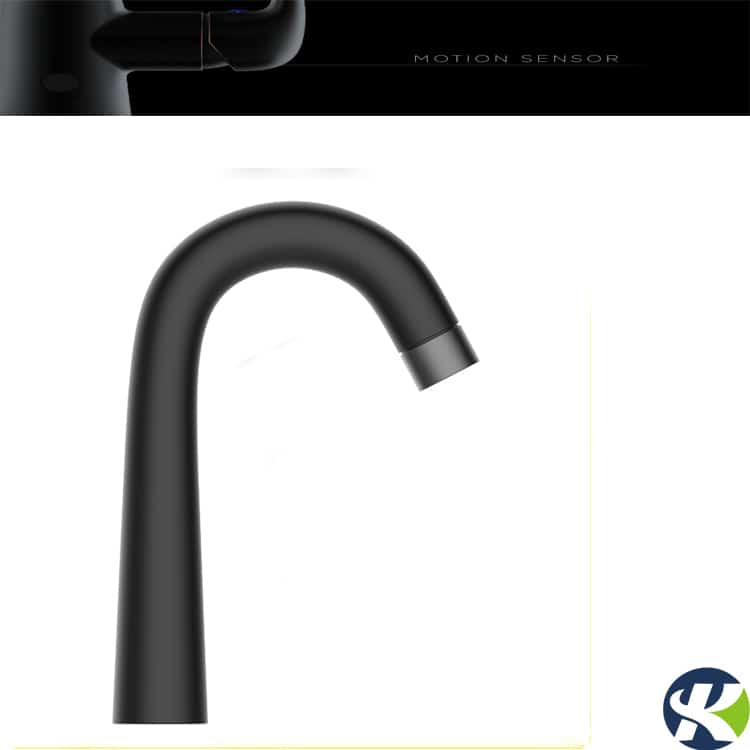
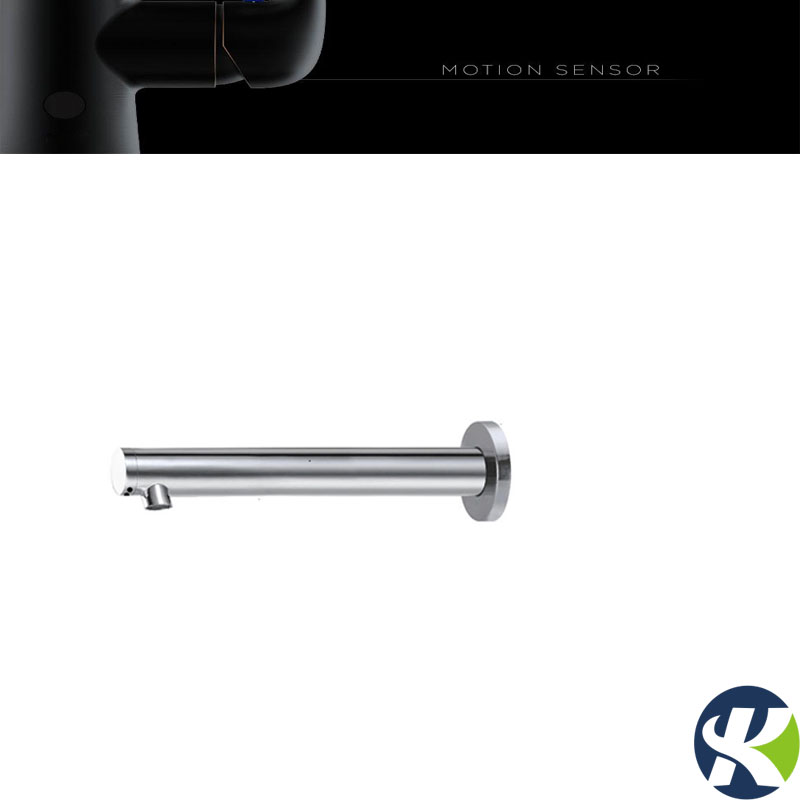
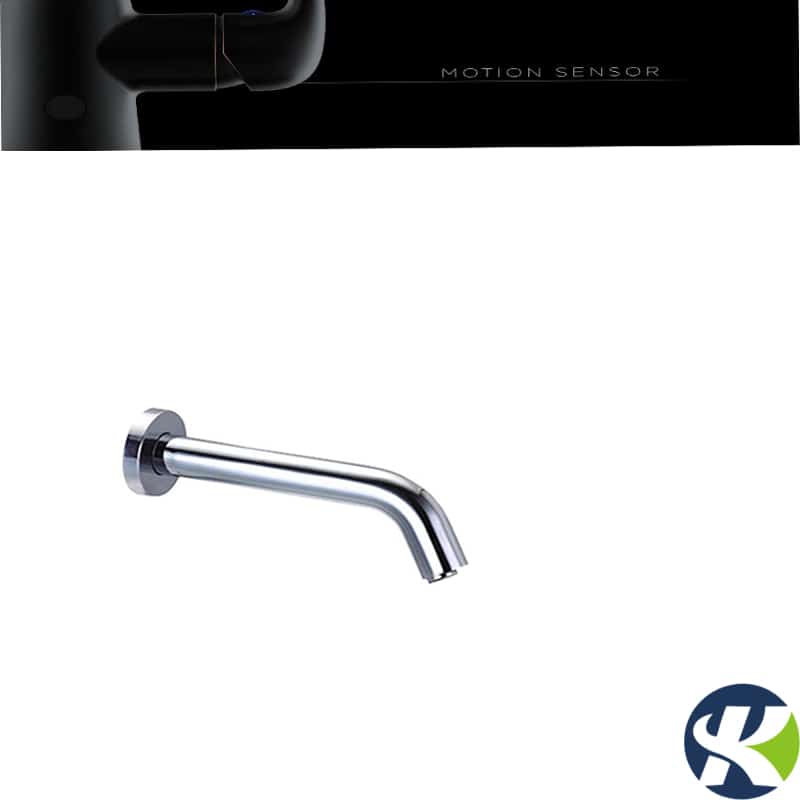
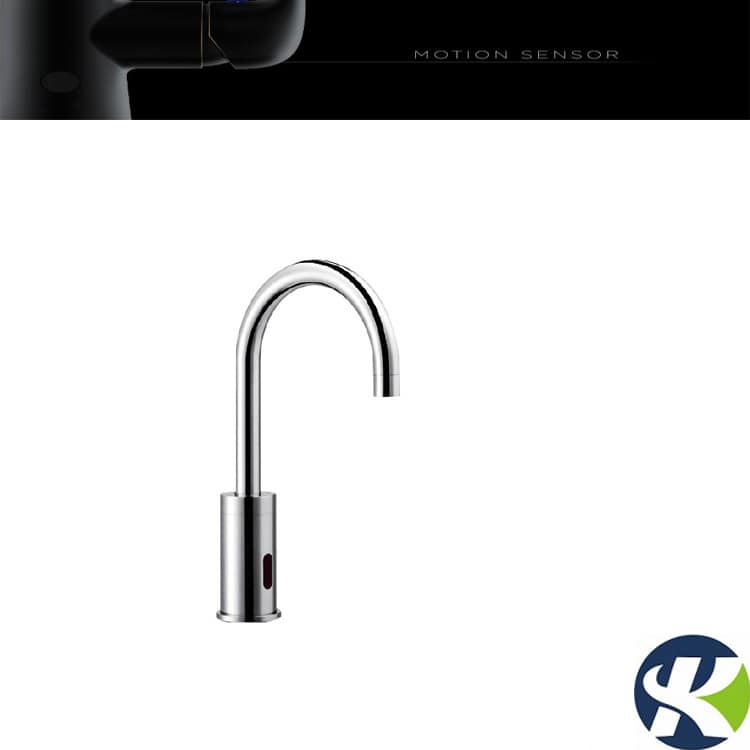
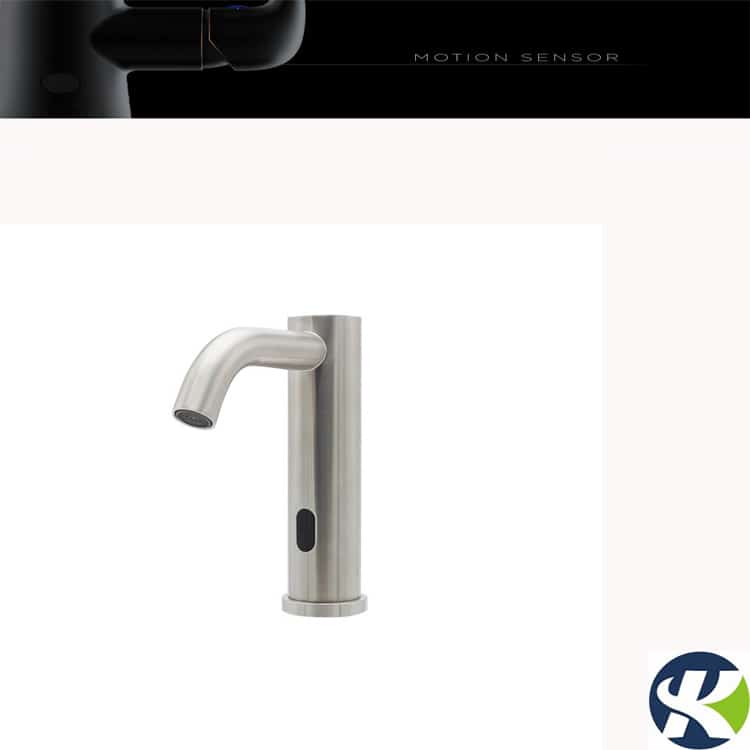
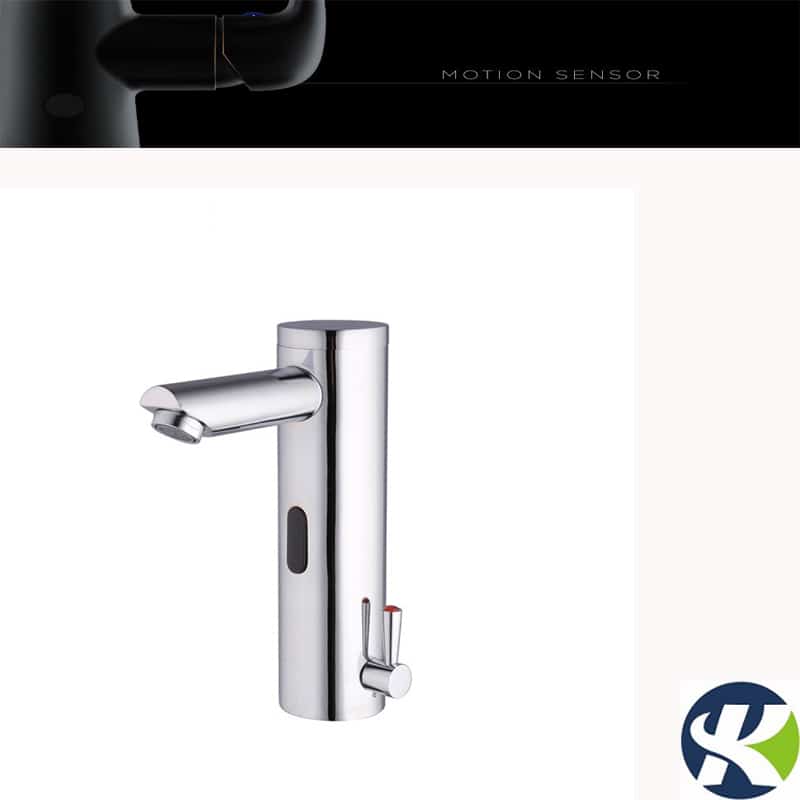
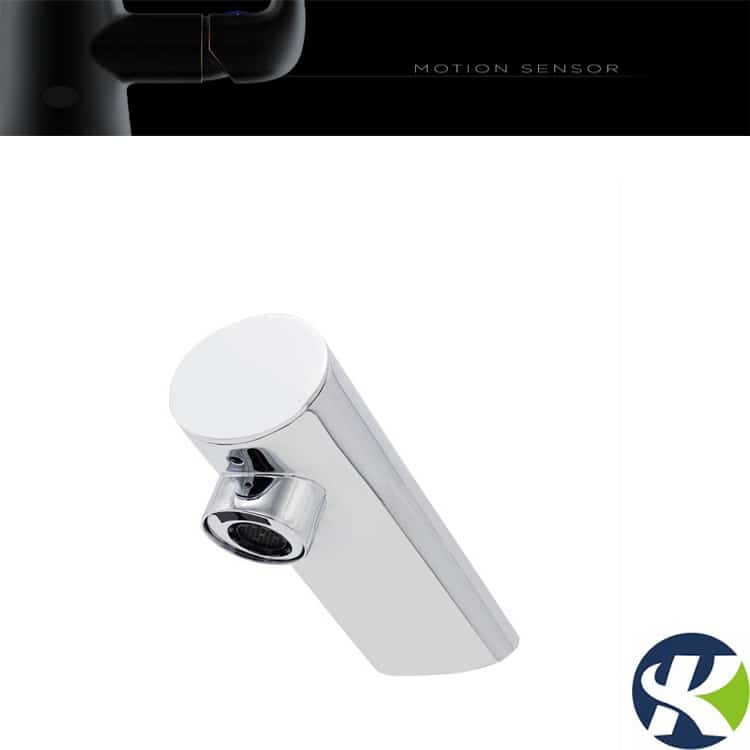
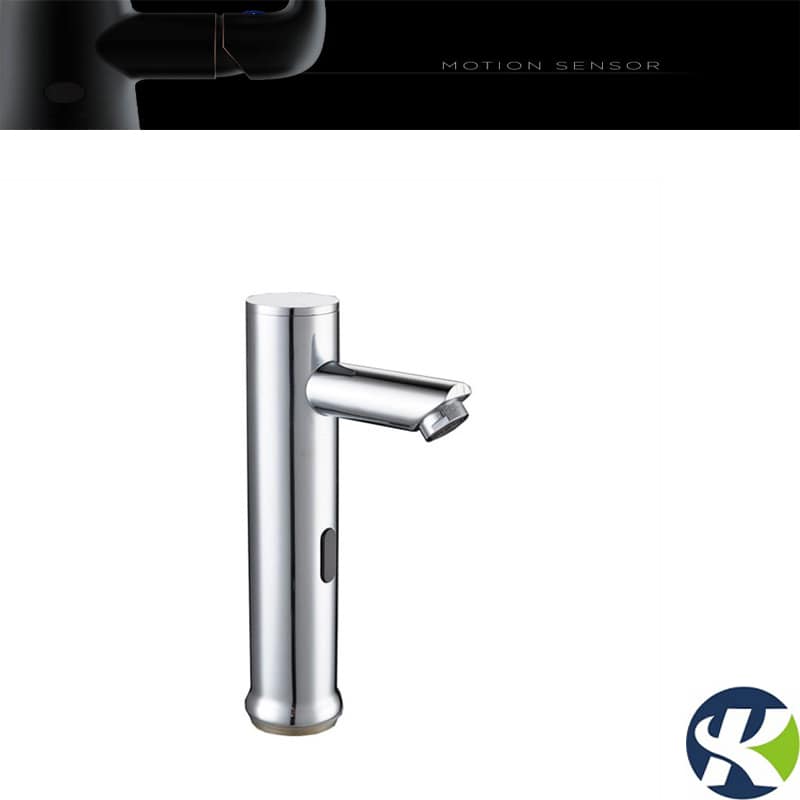
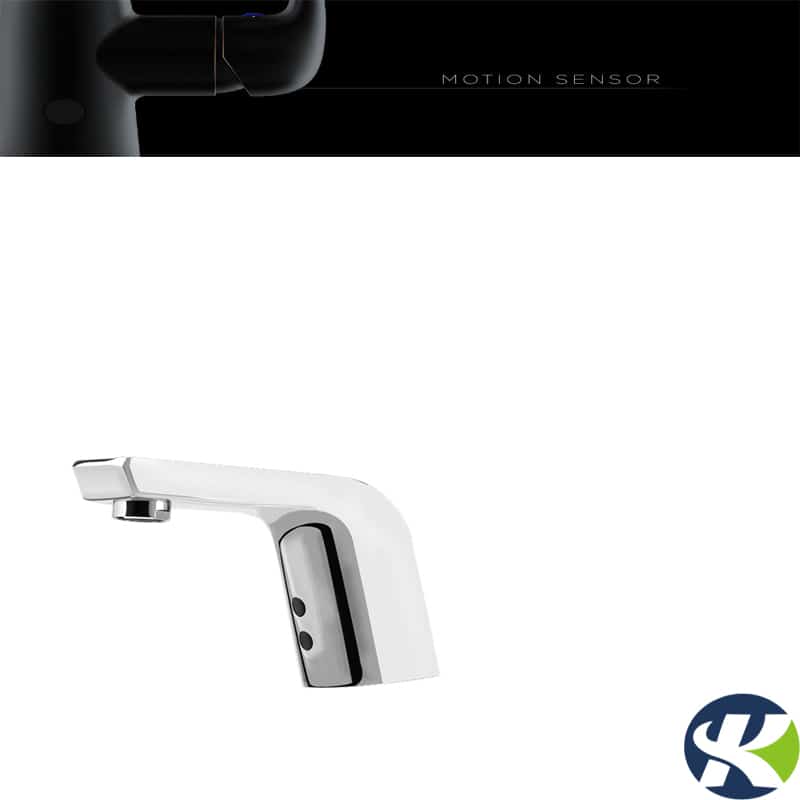
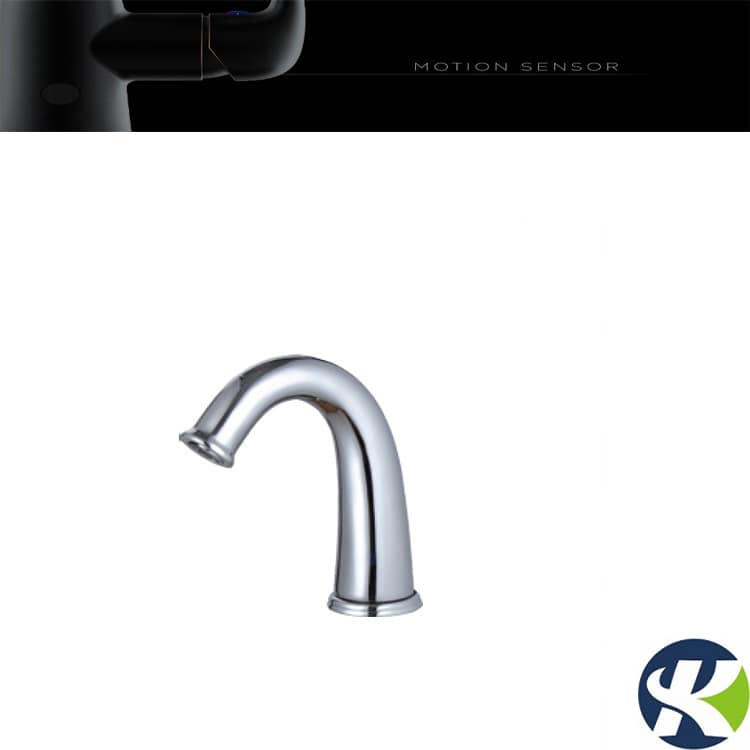
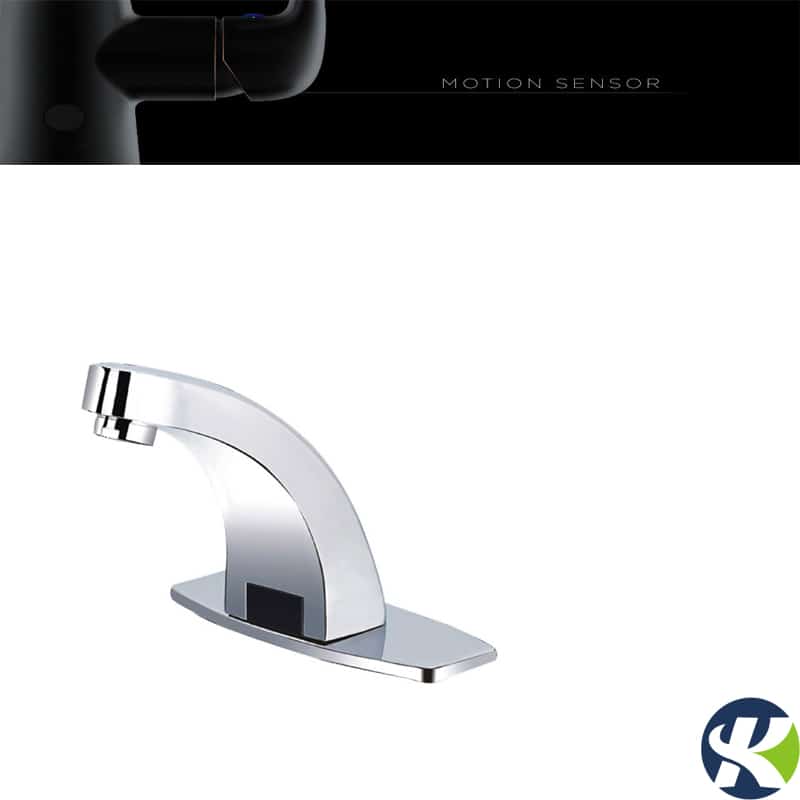
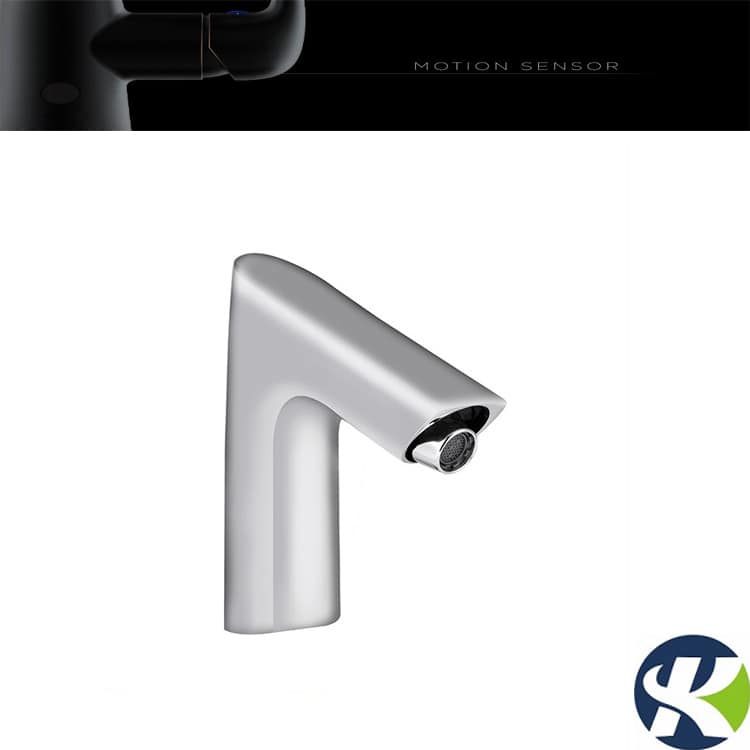
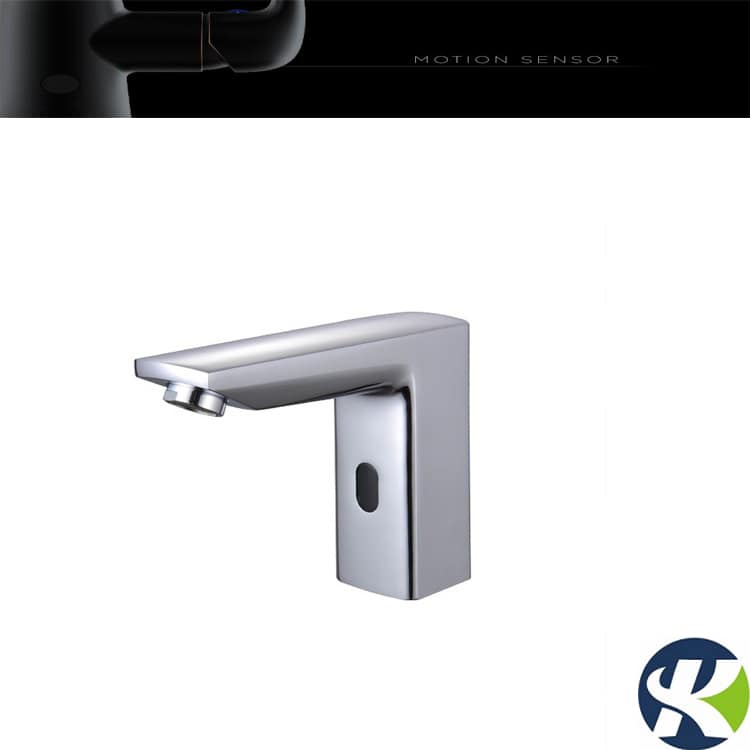
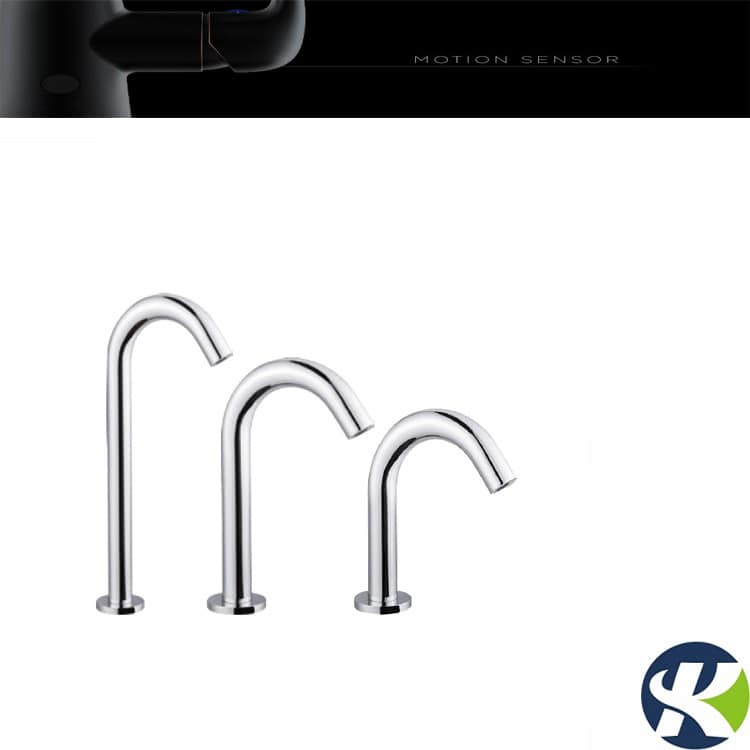
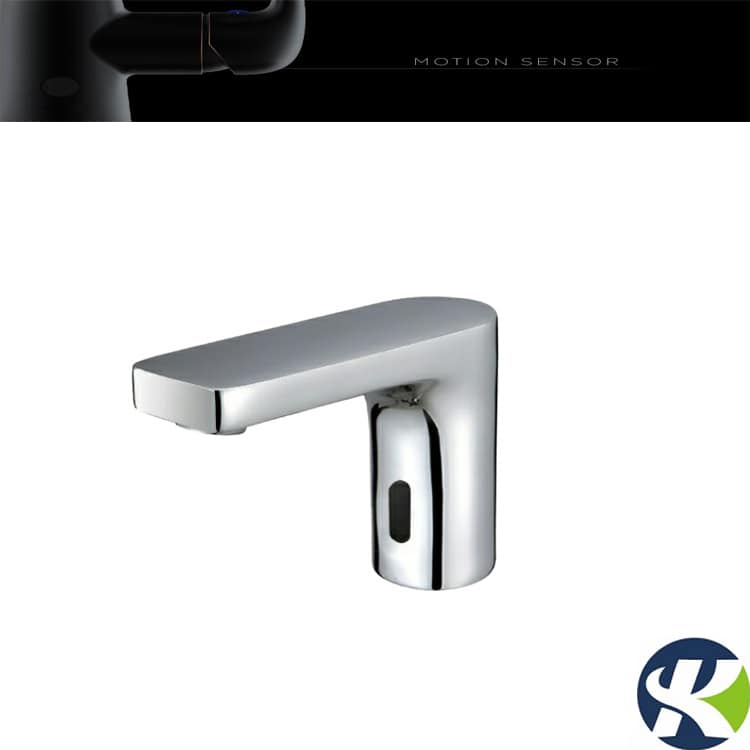
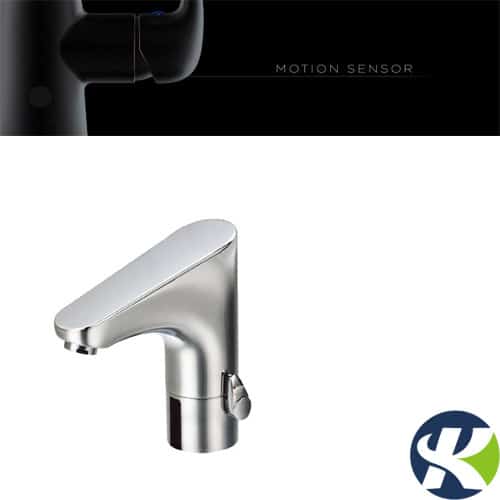
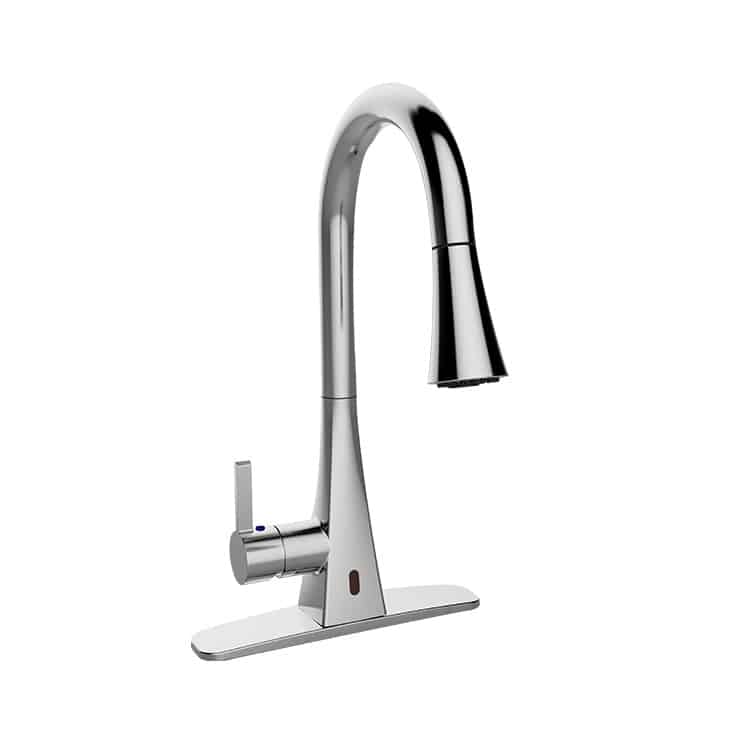
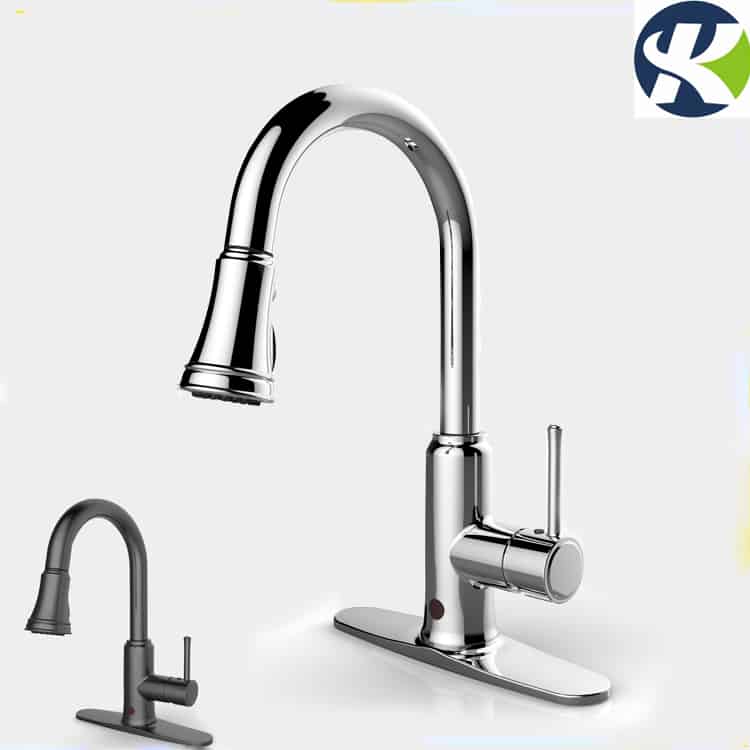
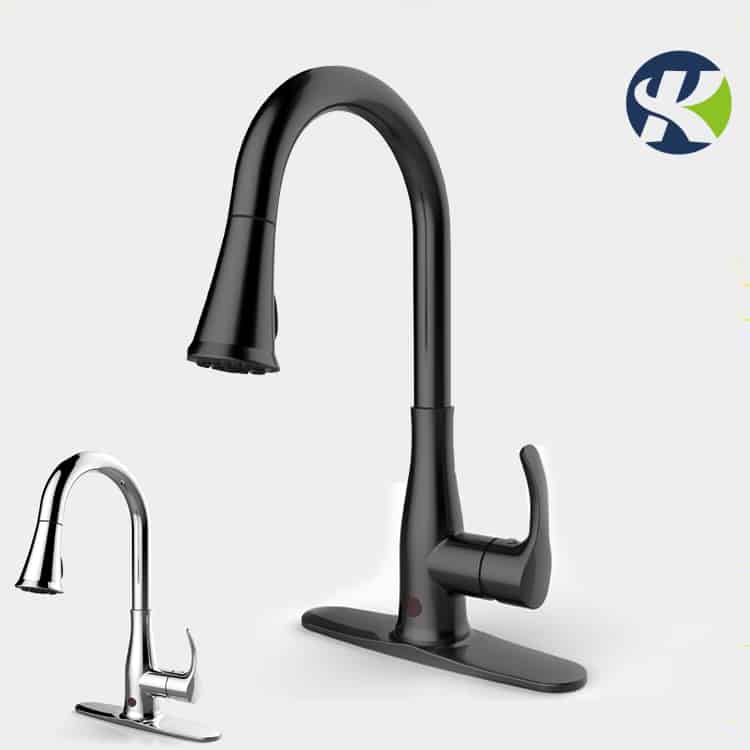
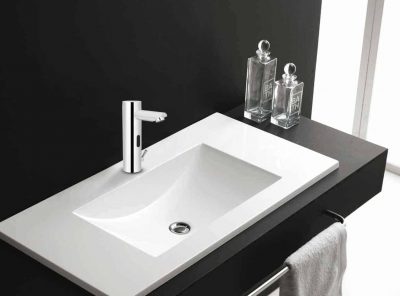
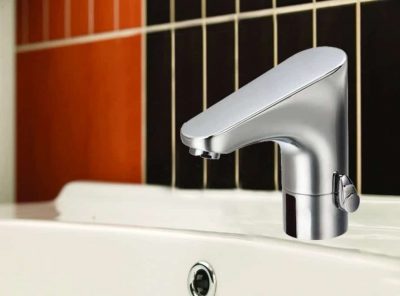
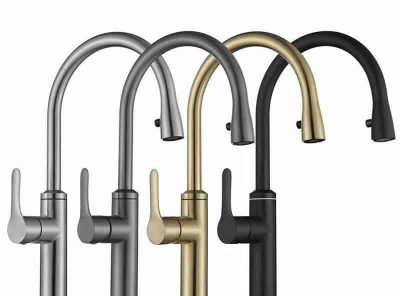
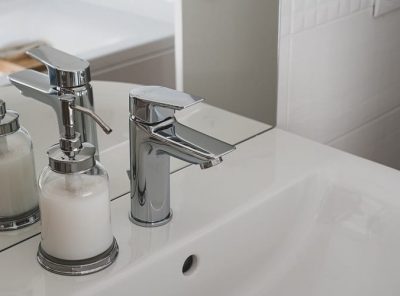
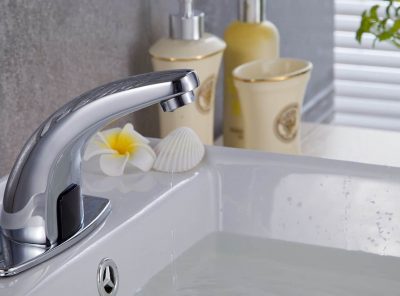
Touchless faucets are also called motion sensor faucets, automatic faucets, touch free faucets, or touchless taps, they are widely used in public bathrooms and more and more used in homes also.
Touchless faucets can get clogged or leak just like standard faucets. Before you begin to troubleshoot the touchless faucets, check to make sure there are no clogs or loose connections in the standard plumbing equipment. If everything is okay, then the problem could be caused by the automatic faucet’s electronic parts, like solenoid valves, sensors, and even batteries.
How Does Touchless Faucets Work?
Before introducing the troubleshoot, we’d like to let you know how do touchless faucets work firstly.
Touchless faucets use infrared motion sensor technology that allows you to start the flow of water without touching the faucet. Instead, just placing your hand under the spout sensor, the sensor emits infrared beams and receives the reflection beams from the hand. Then it will give the solenoid valve a signal to open and the water will start flowing; When you take your hand away, the sensor will indicate the solenoid valve to close, then the water flow will stop.
- When the presence sensor detects anything below it, the sensor will give a signal to the solenoid valve to let the water flow out. But, as soon as the presence sensor detects the absence of that object, it will instruct the solenoid valve to discontinue the water flow after a fixed quantity of time. On the other hand, some advanced faucet models have an ultrasonic field sensor that orders the valve to start water flow when your hands interrupt the ultrasonic field.
- Usually, a solenoid-actuated diaphragm valve is used to start and stop the flow of water.
- The spout holds optical fiber cables that attach it to the presence sensor. Then, the presence sensor conveys its signals through this fiber optics. The spout may also include batteries in some models.
- The waterproof connector as a bridge connects the sensor, battery and solenoid valves.
Troubleshooting Little or No Water: Check Standard Plumbing First
Before assuming that the problem is with the solenoid valve or sensors, perform the basic check that would be done on a standard faucet. If only a small amount of water is coming out, check to see if the aerator is clogged by removing it and then turning on the faucet. If water streams out, soak the aerator in vinegar and then reinstall. If you remove the aerator and there’s still little or no water, then check your supply hose for clogs.
If your automatic faucet is leaking, check to confirm that your cartridge nut is secure and your cartridge isn’t broken. Next, check the washer and any rubber seals for damage. If it appears that the inlet hose is leaking, then it needs to be tightened. If everything is in good condition and all parts are secure yet the faucet is still running, make sure each piece is clean and free from blockages.
Regular faucets little or no water reasons:
Check the Solenoid Valve Battery
If all of the standard plumbing components are in good condition and clean, it’s possible that the battery needs to be replaced. For many faucets, the LED light on the faucet will turn on. When the faucet is off, the light will be off as well. However, if the water is off and the LED light is flashing, it indicates a low battery. If the battery is low or dead, the faucet should return to normal water flow once the battery has been replaced.
Remark: please make sure you install the batteries in the right direction, the + and – polarity is indicated correctly in the battery box.
Check the Solenoid Valve
If you are still experiencing problems after checking the standard plumbing and the battery, the solenoid valve may be dirty. If you see debris in your valve, turn the water off and carefully disassemble the valve, normally there is a water filter in the solenoid valve, take it out and clean, paying attention to how it came apart. Clean and reassemble the solenoid valve. Then test the faucet.
If the valve is clean, and you are still experiencing a problem, the valve may need to be replaced. To check, first turn the faucet off, remove the hose from the solenoid valve and then turn the faucet back on. If water comes out, then the solenoid may need to be replaced.
Check the Infrared Motion Sensor
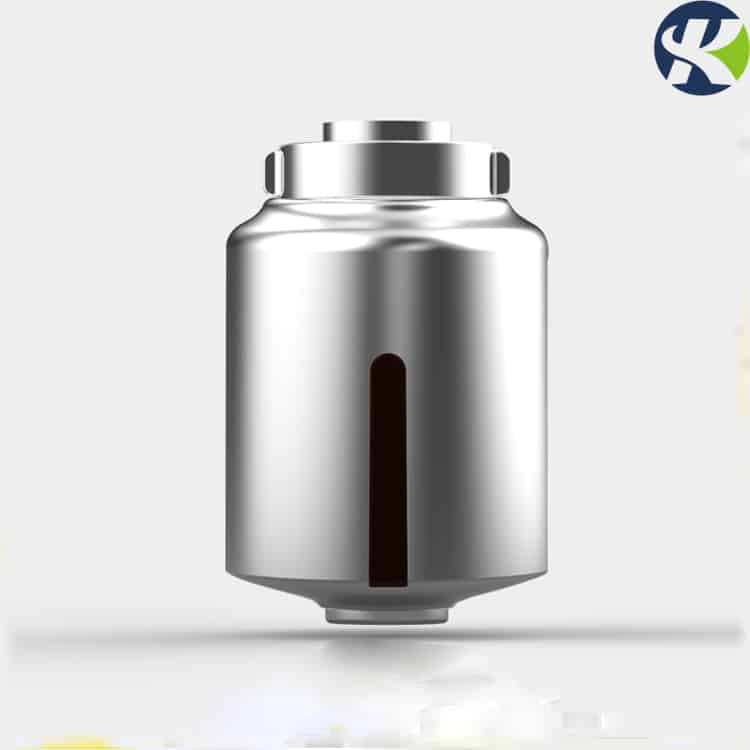
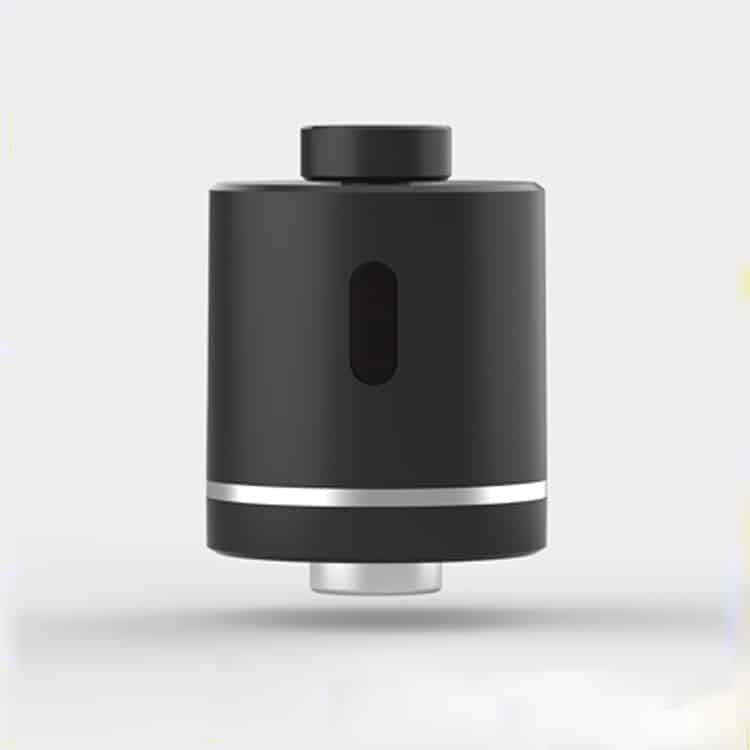
As the most important part, the work of the sensor is to forward the signals to the valve to turn on the faucet after detecting your hand. However, if there is dirty on the sensor surface, it will influence the sensor and solenoid working. Please notice that only clean the sensor with a soft cloth, scratching will reduce the range and sensitivity.
Check the Waterproof Connector Cables
As a key part, the waterproof connector cables connect every subpart, like a bridge to connect the sensor with a solenoid valve and power battery or AC Adapter. If there is any loss or break, it will influence the automatic faucet working. So try to reconnect all the waterproof cables if the automatic faucet not working.
Automatic Faucet Won’t Turn Off
If your motion sensor faucet won’t turn off or shut off, first check to confirm all connections and components of your faucet are tightly secured into place. If everything is secure, and the faucet is still running, make sure there all parts are clean and there are no blockages. Once everything else is confirmed to be clean and working well, the problem may be that the solenoid valve is only partially closing and it needs to be replaced.
Touchless Faucet has no water flow or the unit doesn’t work
Cautions for daily use of touchless faucets
Conclusion
Touchless faucet troubleshooting:
TOUCHLESS FAUCET TROUBLESHOOTING |
||
| Problem | Possible Reason | Suggested Solution |
| No water flow | Batteries run out | Replace batteries |
| Dirt on sensor surface | Clean the sensor surface | |
| Main water supply is shut off | Turn main water supply on | |
| Dirt on water filter net | Clean the water filter net | |
| Water pressure is not applicable | Check the water pressure or refer to the technical specification. | |
| Have a continuous water flow problem | Batteries run out | Replace batteries |
| Low water pressure | Check the water pressure or refer to the technical specification. | |
| Solenoid valve open | Check the solenoid valve or relace it with good one | |
| Having leakage after turning off the faucet | Low water pressure | Check the water pressure or refer to the technical specification. |
| Dirt on water filter net | Clean the water filter net | |
Touchless kitchen faucet troubleshooting
Touchless kitchen faucet troubleshooting |
||
| Problem | Control points | Fix / solution |
| Water does not flow from the faucet when activated by infrared sensor and/or hand spray is pulled down |
Use the instruction document to verify all connections were properly made. |
This will ensure water will flow correctly inside the faucet. |
| Verify that water shut-offs are open. | This will ensure the faucet is supplied with water. | |
| Open the handle fully. | Handle must be in the open position for the water to flow when sensors are active. If water flows when the handle is closed, the manual override is opened. Turn the knob on the electronic unit clockwise until completely closed. |
|
| Verify the batteries are charged/good and in the correct +/- polarity. |
Change or reorient batteries. | |
| Make sure the sensor is clean (even water might block its vision). Wave hand in front of the infrared sensor within a distance of 2.5” (6 cm) and pull the handspray. |
Check for water flow. | |
| Open the override to see if water will flow in manual mode. | If no water flows, close the water feed to the faucet. Disconnect the top water feed to the electronic unit and verify the filter is clean. Close manual override and try the sensors again. |
|
| Wave hand in front of infrared sensor again within a distance of 2.5” (6 cm),to see if the sensor eye flashes a red light |
If the sensor does not flash a red light, replace the faucet body. If sensor flashes a red light but you do not hear a clicking sound coming from the electronic unit, replace the electronic unit. |
|
| Water does not flow when the handspray is pulled down. (Water flows only with infrared sensor). | Open the handle fully. | Handle must be in the open position for the water to flow when sensors are activated. |
| Keep the hose pulled-down for 1 to 3 minutes, then slide it back; pull again |
If no water flows, replace the faucet body. If water flows intermittently, replace the pull-down handspray hose. |
|
| Water does not flow when the faucet is activated with infrared sensor. (Water flows only when the handspray is pulled down). | Make sure the handle is in the open position and the sensor is clean (even water might block its vision). Wave your hand in front of infrared sensor once at a distance of 2.5” (6 cm) making sure not to wave back and forth (activating and immediately deactivating the sensor). |
If no water flows, replace the faucet body |
| Water drips from the faucet. | Water dripping occurs when the handle is in the OPEN position. |
Manual override might be slightly open. Close the manual override on the electronic unit by turning the knob clockwise until completely closed. |
| Water dripping occurs when the handle is in the CLOSE position. |
Change the faucet cartridge. | |
| Water flow diminished. | Open the handle fully and test flow. | If the water flow is still diminished, clean the filter found in the top part of the electronic unit; and/or clean the aerator and nozzles on handspray. |
| Water flow does not automatically stop after 3 minutes. |
Verify if manual override on the electronic unit is closed (turn the knob clock wise until completely closed). If it’s open, close it and do the test again. If the manual override is already well closed, wave hand in front of infrared sensor to activate water flow and repeat the movement to stop the water flow. |
If water stops, replace the faucet body. If water does not stop, replace the electronic unit. |
| Water flow stops during use (within the 3 minute security timer) or water suddenly flows without any motion. | Verify the batteries are charged/good and in the correct +/- polarity |
Change or reorient batteries. |
| Check if there is any drop of water slid over the sensor eye to activate it. | Make sure the sensor is clean (even water might block its vision) and try to stay outside the 2.5” (6 cm) range of the sensor to prevent accidentally activating/deactivating it. | |
| The infrared sensor flashes a red light three times per second. |
Flashing indicates batteries are running low. Change batteries. |
|

